14 things you need to be a successful software developer - Number 3 - No-one is best positioned to avoid a problem than those who just made it
In 2017 I was working at AWS, and AWS went down... and went down hard. It was a tough night to be an engineer and when the dust settled hours later, it turned out that it was caused by a typo. The amount of money lost by AWS and more importantly their customers that day was huge, and one person was to blame.
What would you do if you were Andy Jassy (CEO of AWS at the time) with that employee? Fire them? Demote them? No... nothing like that! That engineer was first supported, and then they led the work in their team to ensure it never happened again. Their work then rolled out to the rest of the organisation over the next few months. Ultimately the entire organisation improved from that.
This absolutely speaks to building a safe organisation for making mistakes, which leads to success. There is more coming on how to build safety in teams coming in the series, so I won't cover those.
Rather what I want to share today is about how to build knowledge, and unfortunately, it is a work to build knowledge. I worked with a tech lead who told me "failing is the best way to learn"... and he was entirely wrong. Failure is not learning, failing is failing... so how do we build knowledge from failure or anything other situation? Obviously, the safety of the environment matters, but it is also taking time to step back, with diverse views and discuss it, and find the learnings.
What practical tools do we have to help with this?
- Do your sprint retros!
- Norm Kerth wonderful retrospective prime directive is something to be said every time you take time to review a sprint or every time you review an incident.
- When you have an incident, take time to do a blameless correction of error (or post-incident review or post-mortem). The best I've ever seen is the AWS model. That article is so detailed and covers an amazing tool which you can use not just in a CoE, but in many situations, and that is the 5 Whys
In short, failing in a safe environment where learning is an action and not just a statement on a company's values can lead to powerful improvements and you can help that by building blameless cultures and ensuring that learning happens!
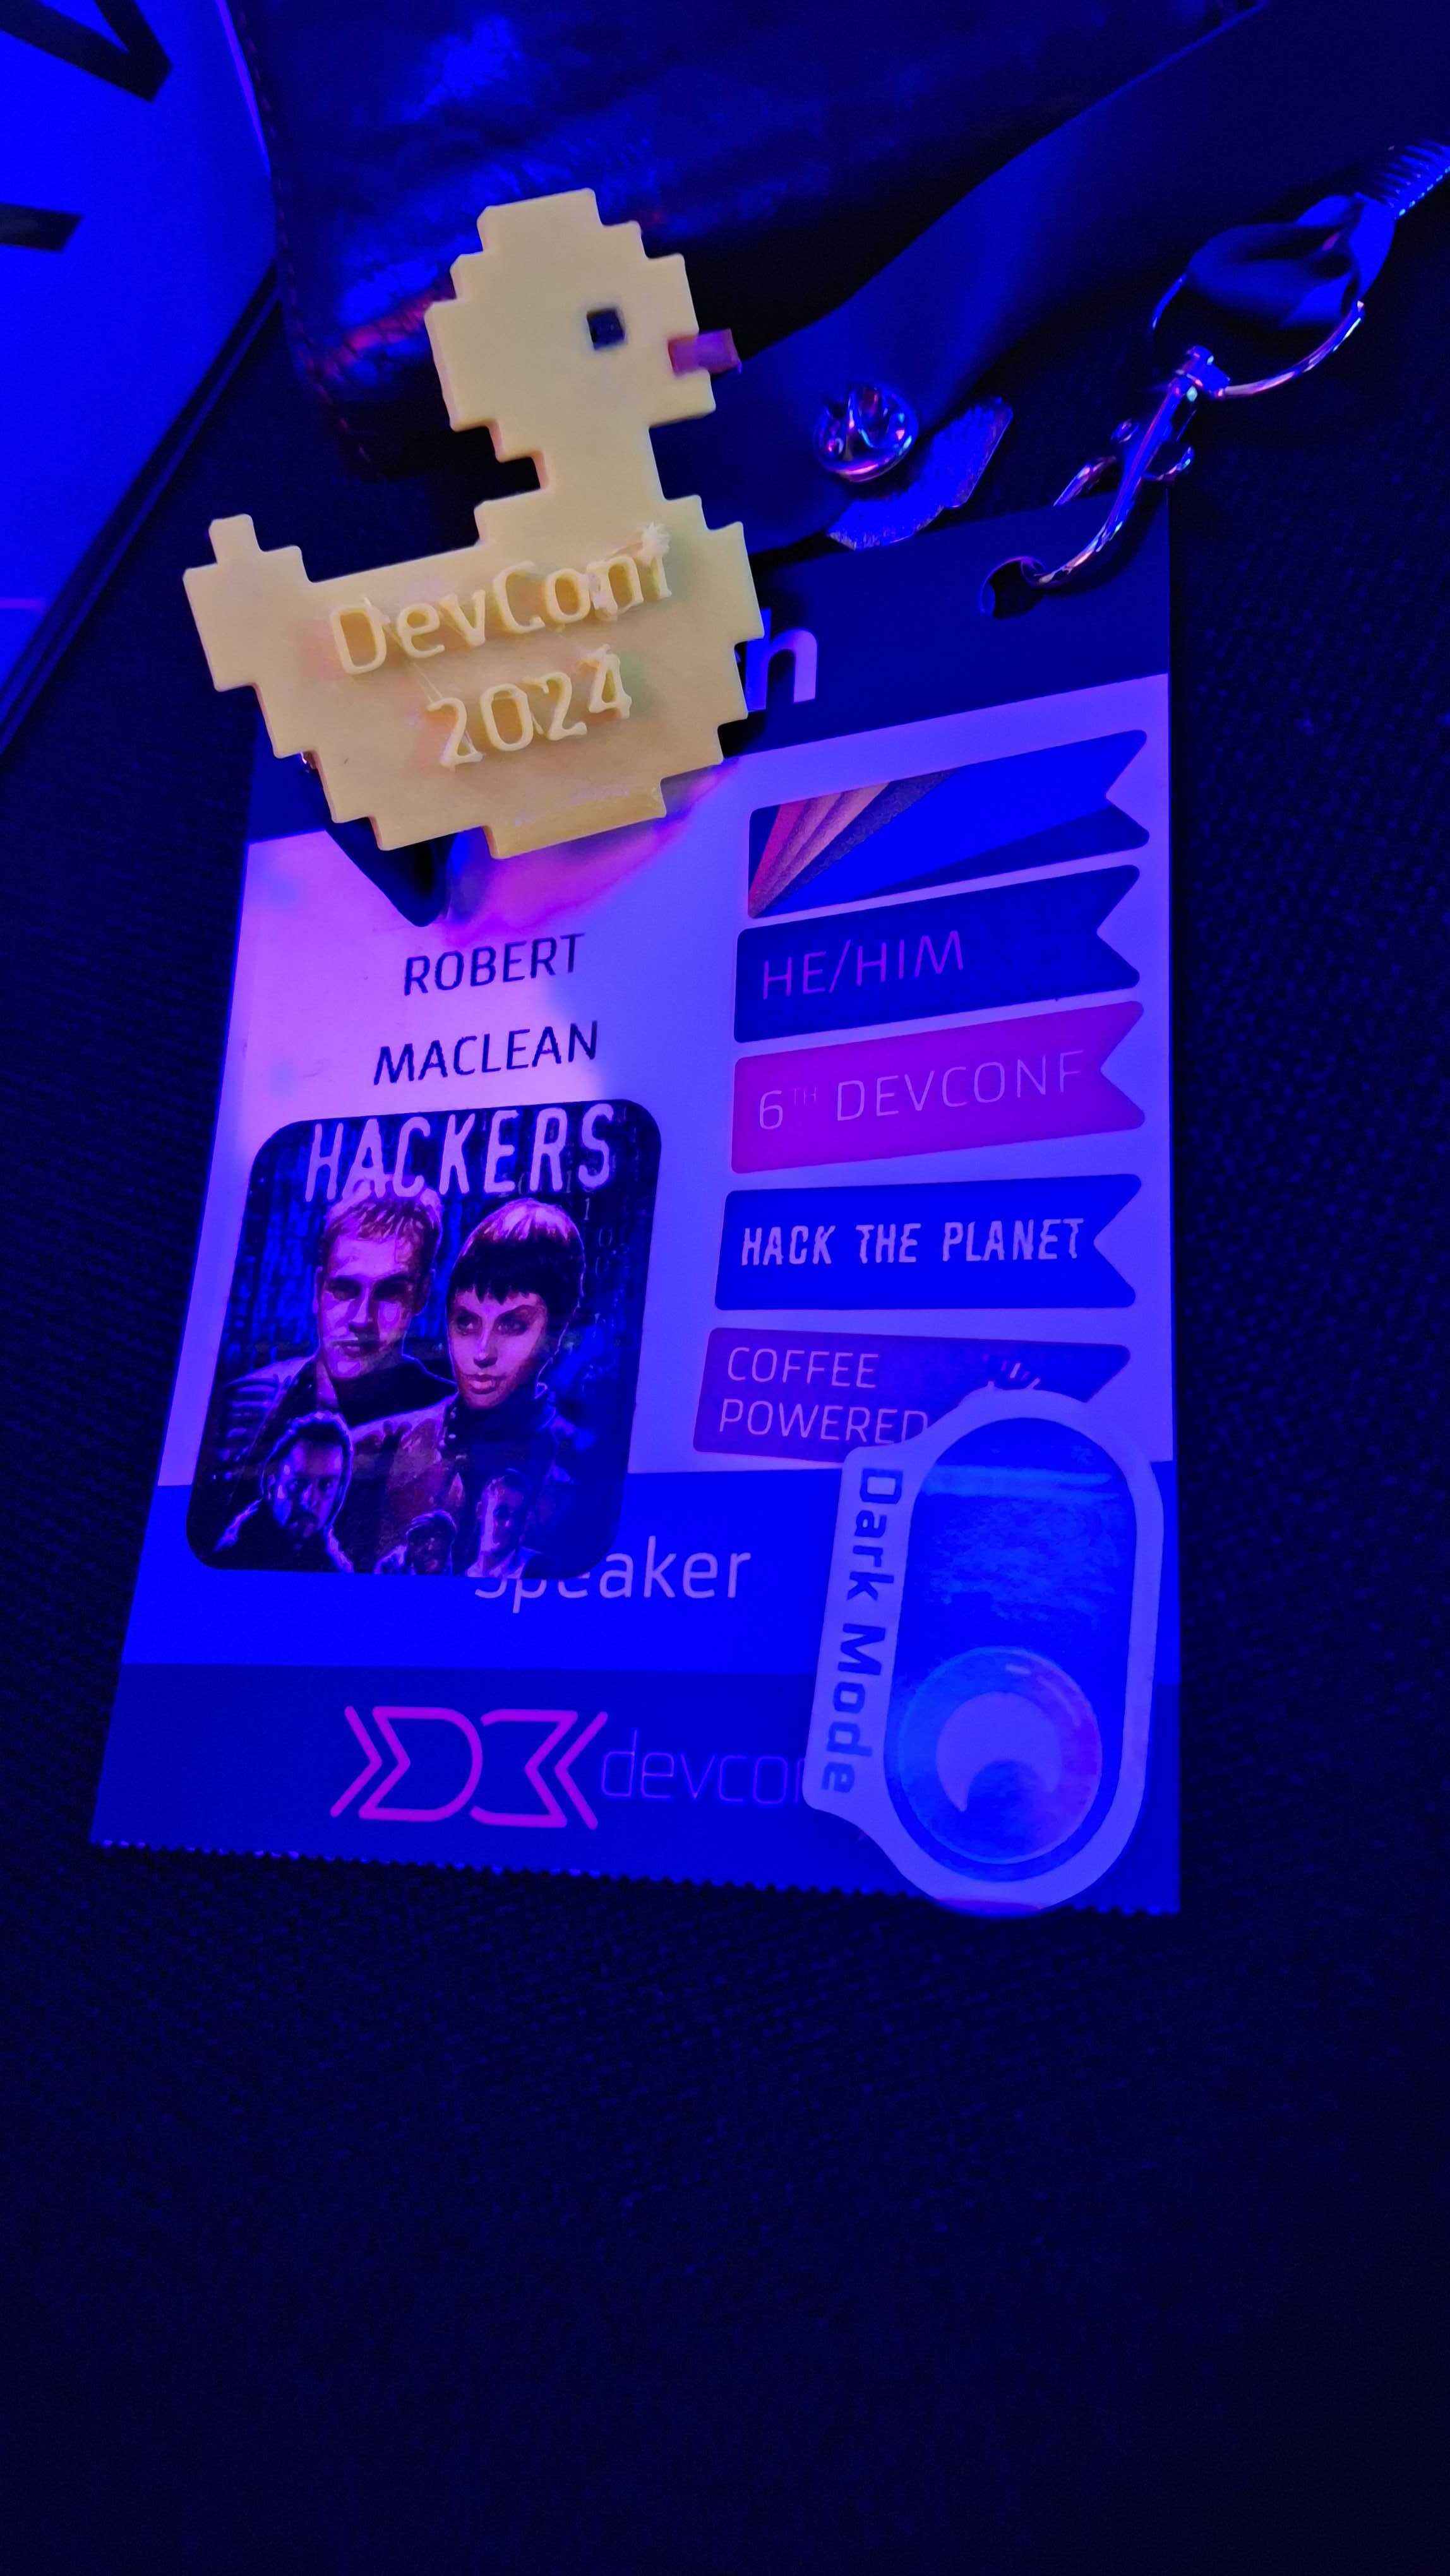
Thanks for DevConf 2024

The 9th/8th/7th/6th year of DevConf, depending on how you count it... and what an amazing year! There was a strong demand that it should be called DuckConf going forward 😂 I can't commit to that, but I think Ms. Duckworth will be back in some way for 2025.
What worked?
Feedback via the ratings is still coming in, but looking at social media many, many, many, many, many, many people had an amazing time.
For me, something which was at one point not happening cause of budget concerns, turned out to be amazing and that was badge hacking. It was wonderful to see people with ribbons or art or other stickers on the badges.
Thanks
DevConf is the combined work of many people, first and foremost, my partner in all things DevConf, Candice Mesk. I could not do this without her; her hard work is so much of this event.
Working hand in hand with us, are Michelle, Judith, Tanya, Celeste and the rest of the team from Fizz Marketing. They have handled the logistical side and allowed Candice and me to do this while having full-time jobs for years. This event is a success thanks to them.
Joining us for the first time this year as DevConf staff, was Marié, who handled all the social media. This is a massively exhausting job to do on the days, and I am grateful to Marie for all she did this year!
DevConf costs a fortune to run and ticket prices are kept as low as possible thanks to the sponsors! This event would not be possible without them... or it would have R10k tickets and no one would come... so the same thing.
Last but not least are the speakers themselves, they give up months to prep and plan talks and I am honoured they chose to do all that work and spend all that energy in exchange for a jacket and some dinners.
How to count DevConf years?
- It is the 9th calendar year, as it was started in 2015
- We have run it 8 times in Gauteng which (since I am in Cape Town) includes Joburg
- We have run it 7 times in Joburg proper, as in 2023 we ran it in Pretoria
- We have run it 6 times in Cape Town.
Tech That Rocks: Warp (Edition 2)
This week on the Tech That Rocks newsletter, I share about Warp! It is an amazing terminal that is a major productivity boost for any one! The edition will take you 2 minutes to read and save you hours in the future, so check it out now
14 things you need to be a successful software developer - Number 2 - Practice constant verification
All software is adding features to a known state - Jim McCarthy
If you are starting out from scratch, the known state is easy... it is nothing until you add that first line of code but, for me at least, most software I work on is not brand new. I have spent more of my time looking after, fixing and enhancing other's code... so how do I know what the known state of that code is? How do I know what the state of my greenfields project is with 1 line of code? No surprises cause it is the title: constant verification.
As software developers, there is a lot we can do ourselves to get to a known state, for example: unit tests (know the state locally), having test environments (know the state when testing), making sure we have a CI pipeline that is repeatable (know the state is not influenced by builds), and making sure we have observability baked into our code (know the state in production).
Also like in tip 1, we can benefit from working with others, especially QA. It is no surprise that my most successful projects have always had a QA engineer in the team. Their entire job is to know the state and to share that!
Finally, when looking at your own approaches to work, what can you do yourself to practice constant verification?
First assume others have different info, and not that others are wrong. I cannot tell you how often this has saved me from looking like a jerk or missing out on a key piece of knowledge. Let others talk, ask questions to understand why they think something or are suggesting something and often you will uncover more info than you had before.
The second aspect you can do as a software developer is to realise your job is not coding. Your job is the entire lifecycle of software development, from figuring out what to build, how to build it, how to maintain it, how to fix it, how to EVERYTHING.
And finally, something which came up last time too... practice you build it, you run it!
Photo at the top is by Daria Nepriakhina
Tech that rocks

Today I launched a newsletter, called Tech That Rocks. It is meant to be a short weekly article to introduce you to something amazing I found in the tech space so hopefully it makes your life easier too! I would love it if you Subscribe to my newsletter
To give you an idea of what it is like, here is the first edition, enjoy!
Welcome to Tech That Rocks, a weekly newsletter by me who is YABWGWAO (yet another bearded white guy with an opinion). The idea of this newsletter is simple, I keep finding amazing tech and it should be shared with more people, so that is what this is. It won't ever be a long post, and it won't always be about software development (though today is) - but any amazing tech... and if you find tech that rocks, let me know! You could be the author of one of these in the future!
Today's TTR is Bun, a drop-in replacement for Node.JS - you know the thing that is probably powering the backend of all your favourite things. Node.JS is awesome, but it is 15 years old and these last 15 years have seen amazing low-level and high-performance languages come along. It also has seen how we have changed our approach to large-scale JavaScript development.
Bun attempts to use that to make a drop in high-performance replacement for Node.js and it does that so well thanks to being coded in Zig (worth a quick search if you haven't heard of it). It also bakes in TypeScript support, so no more tsc pain! You can be up and running so fast with new projects too thanks to templates.
I took a few projects and just dropped Bun in and they all just worked. I got major performance improvements FROM DAY 1. Bun has some additional APIs you can switch to, which will replace the Node.js ones and give you even more perf... but that is optional. It is not just runtime either, it is package management. I went from 30+ seconds for npm i to sub-2 seconds with bun i. It is really tech that rocks.
The short view summary for me is, that while Deno (another TTR) is what Node.js would be if it was built today, Bun is what Node.js would be if it was built 15 years ago with the tech of today. If you are building from scratch today consider Deno or Bun over Node.js... but if you have solutions today on Node.js, add a Bun migration ticket to your next sprint!
14 things you need to be a successful software developer - Number 1 - Diverse and Empowered Teams
Each of the 14 points in this series is grouped into 3 broad categories, the first one being Modern Development. This for me is the category I feel encompasses the items that people like Jim McCarthy and Fred Brooks did not cover because they were not important at the time. The software development world has changed since their work, hell, it changed since I started working.
When I began as a developer, the very first paying gig I got was in 1998 where I was asked to build a record management system. All I knew at the time was Turbo Pascal, so I built an amazing CLI tool with its own "database" (binary record types) to capture the data. It took me weeks of work, but it was feature-complete and amazing... except in 1998, who wanted a DOS CLI tool? A smart friend at IBM then used this fancy Microsoft Access to build out all the forms and use a "real database" in a few days. That met the need even better than I could. In both cases though, we shipped a file on disk (literally, we burnt a CD to copy the files since flash drives were not a thing) and handed it over. Deployment was copy/paste and updates... what were those again?
Not only did the tech and the ways of shipping change but so did who I worked with. I didn't work with a developer who was not a white male until almost a decade later. Since then, I have worked on massively diverse teams and what has become clear is there is no perfect model for a developer. Gender, age, education, work experience, sexual orientation, financial situation... none of it has been shown to have any benefit to the success of a developer on a project - rather, it is the team as a whole which matters more.
I wish I could tell you an awesome story about how I learnt this, or give data that validates it, but I can't... not because I do not know them, but because the amazing Claire Wood did just that in her talk Pink Hardhats and other Anomalies, which like with the Jim McCarthy talks, is one I watch yearly. It is amazing how powerful diverse teams truly are and she can tell the story, and give the data better than I could ever do.
While I was languishing in monocultures in the early 90s, a movement which would be called Scrum was starting to take shape with it becoming a professional standard in 2009. Scrum was not a revolutionary idea, in fact, it the revolutionary idea came about in 1986 when two professors in Japan wrote a paper based on case studies about a new way of working that improved product development speed and flexibility.
Just a small aside, the fact that Scrum and later Kanban, both come out of ways of working in Japanese business, with automotive businesses as a key part of it, just blows my mind. Maybe the next big way of working is happening there now just waiting for you to go and write it up!
But back to Scrum, following that paper multiple people were doing very similar things at the same time. I mentioned Jim McCarthy in the previous post, but also Ken Schwaber, Jeff Sutherland, John Scumniotales, Babatunde Ogunnaike, and Jeff McKenna all were doing similar things (a case of Multiple Discovery) but it was not until it was formalised in 2009 that it took off... and now 15 years later a lot of what Scrum said is still correct.
For me this is about complexity, Scrum probably doesn't matter if you are building a DOS CLI record management system with a team of YOU, but when you have 150 developers building an eCommerce platform... you can't run that like one team. You have to break it down into small focused teams (8 to 10 people seems right, but smaller is better). That focus is vital, the more you ask them to do, the more (I've found) likely they will slow, and ultimately fail. This does not mean locking that team in a room away from everyone else, they need a broad context and to know how they fit into the grand plan... but their goal should be as tight as possible. I have seen teams of 3 developers running 1 service, outperform a team of 9 running 3 services - even when those services overlap.
Now that you have this small team with a solid focus, GET OUT OF THEIR WAY! You have to trust them to ship code, and so you need to let them figure out what is the best way to organise themselves to do that... and that may mean trying different methodologies, or having different ways of working across different teams as their goals are different. All you can do, is to empower that team with the right support, and authority to do what is needed. What I have found helpful in this regard, and again I steal from Scrum, is just drop titles.
Titles are what consultants use to charge more for someone or to help one's CV look more impressive than it is. Titles do not help ship software and just cause hierarchies and the ability to hide behind the title, rather than dealing with issues. Everyone is a team member and the team succeeds or fails... not individuals.
This also me to the final factor in the team, that the team who builds the software also owns the software... this includes shipping and fixing it. This is not a new idea, in fact Amazon was talking about "You build it, you run it" in 2006. When I worked at AWS, I saw first-hand the power of this. The teams I led all deeply cared about code quality and operational aspects... There was a huge focus not just on shipping but on keeping things working and delighting customers. These practices are so simple to do, and add major value... but they start with ownership.
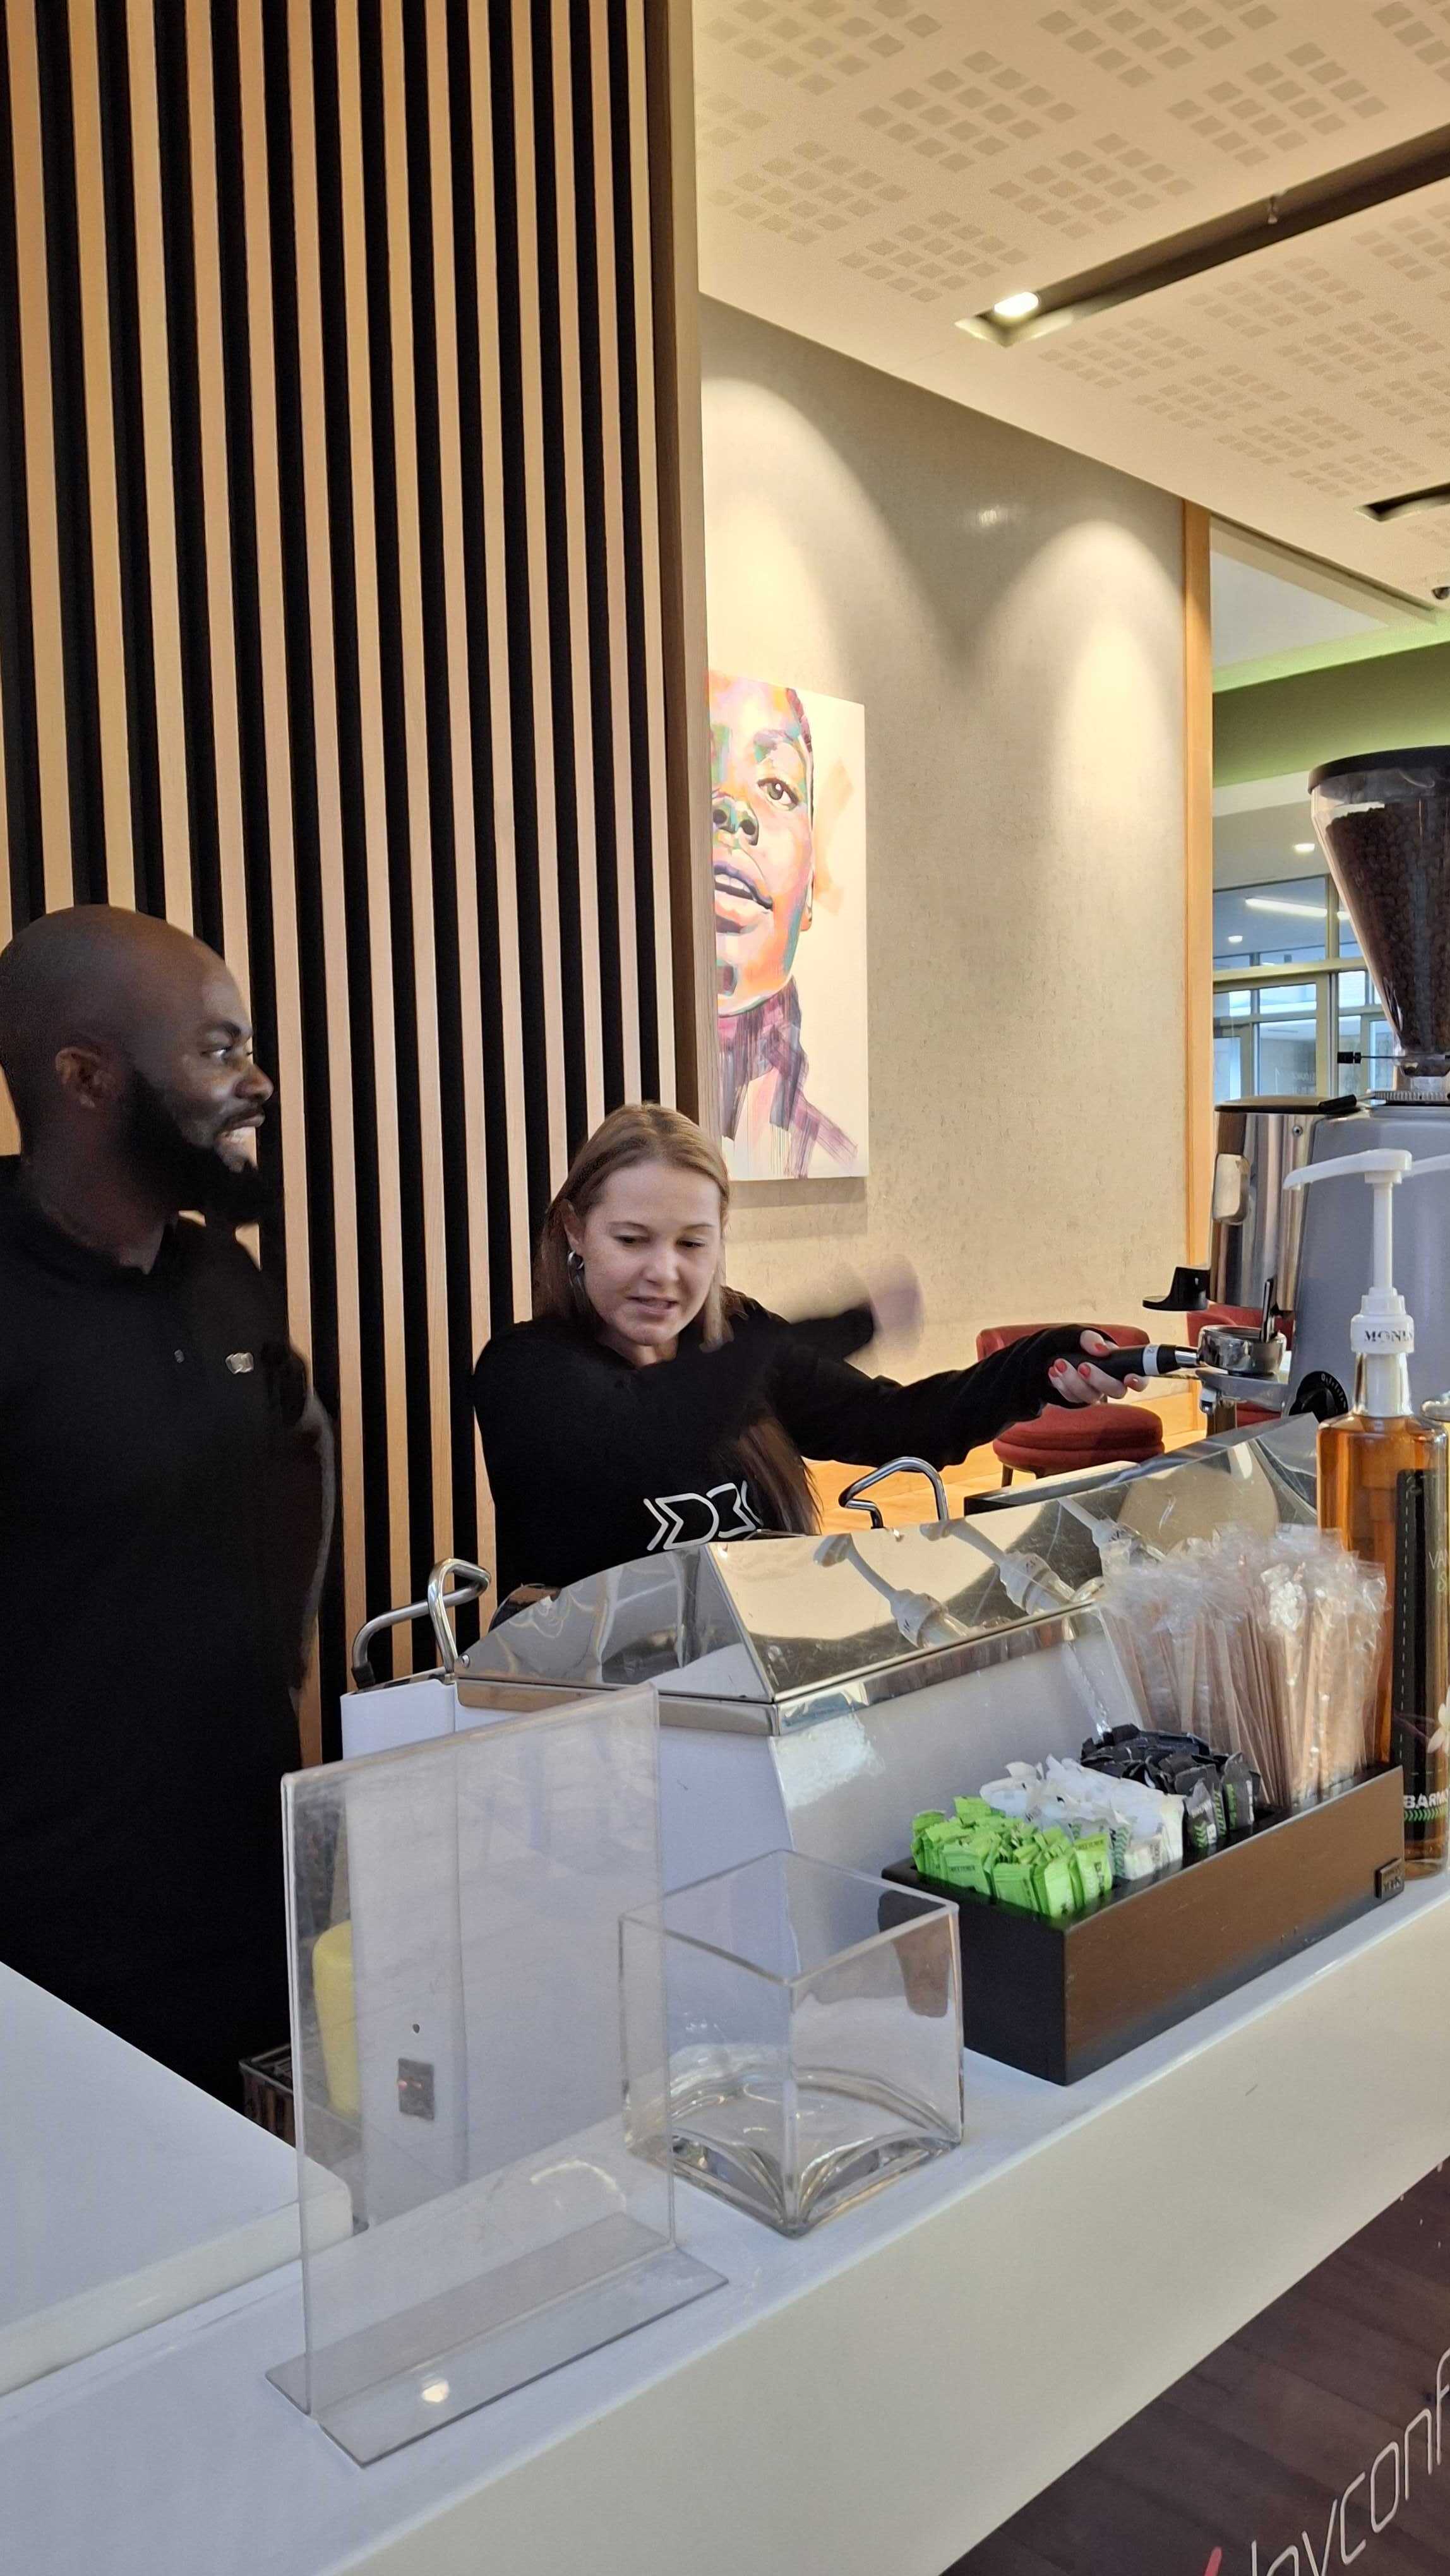
When I gave this talk, I wanted to have a practical action for each point too... just one thing which may help someone in the audience. Obviously, this post has a lot of advice on what to do, but the practical action I gave in my talk was about interviewing; something I have not discussed yet. Changing jobs is a natural part of your career and one you will do multiple times, and to help you have success in being in diverse and empowered teams, during an interview ask to meet the team for a coffee before joining. This way you can see if they meet your bar for what a great team is.
14 things you need to be a successful software developer: Introduction
A few years ago I was asked to be the keynote speaker at a South African university conference and speak to their software engineering students. It was the first time I had been approached to keynote, and so I spent some time with the organisers to understand their goals, and what to expect from the audience. The university had reached out because they knew me years before when I used to give entertaining, yet deeply technical talks on Microsoft tech - things like Server AppFabric, WCF, T4 templates and other technologies who have moved from cool to the farm where old tech goes to live out its end-of-life.
The university had hoped that I would bring that same wow and tech to the event but I had two issues with it. First is that the tech I was using then was the least entertaining piece of tech, a small thing called Java, and so I felt the wow I could bring would be limited. The second issue is, that this is a keynote - there were plenty of wonderful speakers during the day doing tech and only tech. The lack of diversity in the content spoke to me and I realised that I had been allowed to do a talk I have always wanted to give.
Early in my career, I found the amazing The 23½ Rules of Thumb talk by Jim McCarthy who in the early 90s did a talk for Microsoft Consulting Services on what it takes to deliver software projects, based on his time leading the Visual C team. I watched it over and over again, getting insights that no one I worked with had and it kicked started a lot of my thinking; to this day I rewatch it every year still. I would encourage everyone to watch that talk, not only for the guidance but to see the difference in shipping software on disks vs. the cloud has made (something we can only see in hindsight) and also the sparks of ideas he brings up, which later were solidified by others as Scrum. It is wonderful, and I always wanted to do this sort of talk...
So that's what I proposed and very quickly it was agreed and I was asked for the title... uh, I didn't even know what I would say, let alone what the title should be... so on the spot I came up with 14 things you need to be a successful software developer. Why 14? I have no idea, but I knew I wanted a number and I knew that if I took Jim's talk, I felt like maybe 10 could be dropped or combined with modern thinking (but wasn't sure), so that made it feel close enough to be right... and often close enough is good enough.
This led me to a few months of planning content, trying to come up with ideas and pitching it to trusted advisors... before doing it as a keynote, to a major success! Then it was done at the Developer User Group, then Microsoft asked me to do it at the Azure event, and then I was asked by an attendee of that to give it to their employees and more... in fact, a year later the university came back and asked for it to be done again! It has been one of my most successful talks.
It has been a few years since I had that amazing run of presentations, and I have some new experiences that might influence that thinking. I also want to push to write blog posts a lot more; and so with that in mind, I have decided to try convert this into a series of posts where I go into each part and see how it lands with a different audience. Hopefully, this is something that would excite and inspire you, or if not, I hope it challenges you and if you wish to get a view of it sooner, join my Patreon... not really, but you can view the slides I last used here.
I could never have designed WhatsApp
I finished a project with a wonderful group of people and part of that involved working directly with WhatsApp, unofficially though, and through that I think I have gotten a good idea of how it works (I could tell from metrics when their daily deployments happened… if that is enough confidence) and the design is brilliant and stupid all at once… but importantly it is not something I would have designed; so I thought it might be nice to share how I think it works. Before we start, to be clear, I have no proof of this (except for a few thousand hours of working on it) and I never spoke to anyone from Meta… this could be all wrong.
Getting to the first tick
Let’s say Alice is sending a message to Bob, the message goes from her device to the WhatsApp server, where the metadata on the message is checked and ultimately the message is stored on their server. The message itself is encrypted, so if you could access the database of messages that is useless as only Bob can decrypt it, but the metadata is not encrypted. This does include information like who is involved in the conversation, message type (for example, image or voice note or edit or just a text message) and version info (and you can get rejected for incorrect version info). This (I assume) is stored encrypted at rest on WhatsApp's side, but if you could use their tools, it would be available to you.
The second tick
WhatsApp now uses the established connection with Bob's device and pushes the message to the device. The message and any attachments are now on the device that responds to WhatsApp and initiates sending the second tick to Alice. At this point, WhatsApp removes the message from their servers. This is why you cannot restore your messages from WhatsApp unless you have a backup because they do not keep them. This is so brilliant because it lowers disk space usage on the WhatsApp side and reduces the risk of a breach or someone asking WhatsApp for messages because they do not have them.
WhatsApp Web can restore your messages
If you have ever used WhatsApp web, you know when you connect to it you see all your existing conversations and messages; it is live info! Yet, I just told you that WhatsApp does not have this info on their servers… so where do these come from?
They come from the device! This blew my mind, but when WhatsApp Web starts, it uses the WhatsApp servers to establish a proxy connection to the device. The device then does an export of data and WhatsApp web imports that, and that is how you get the data.
(I do think Signal works the same way because if you do run a transfer to a new device, it needs to connect to the original device to ingest the messages).
What did surprise me and is the stupidest thing, the export format for Android and iOS is different! In other words, what you get (and how many messages) depends on what device you have, and what version of WhatsApp you have on that device. This means that WhatsApp web needs to support multiple import formats because there is no standardisation.
Once the import is done, the source device can be turned off and everything will still be available which tells us that WhatsApp web is storing all your messages in your browser (likely encrypted at rest).
End-to-End encryption
One of the most common questions I had when I talked about my work, was “Isn’t WhatsApp end-to-end encrypted?” and it is. There is transport-level encryption, like TLS in your browser and the message is encrypted in a way that only the recipient can decrypt; but once the message is delivered then it is in plain text for a bit while it is shown to the reader. It is also encrypted in a way for storage that the recipient can decrypt. This means that end-to-end encryption prevents a man-in-the-middle attack but does not prevent a man-at-the-end attack. A man-at-the-end is where you either do something which works directly with the WhatsApp app (accessibility tools are a great example of a legitimate example of this) or you build your WhatsApp client which lets you do anything you want.
FAQ
-
How does this work with multiple devices? WhatsApp stores the message on the server until it is delivered to all devices. This is likely why there is a limit on how many connected devices you can have at once; which is 5 at the time of writing… if you add a sixth then one of the others will be disconnected.
-
Are groups any different? No, they are not and again the message seems to remain on the WhatsApp server until each member of the group receives it.
-
Do messages ever die on the server? My gut says yes since there is some wordage in WhatsApp about logging in every 30 days, but I never tested this. It would make sense that they should expire.
You should always be “Open to Work”
In 2022 one of the best senior Java developers I knew reached out to me about leaving his current company, where he had been for a decade, and asked if I knew anyone hiring. Instantly I let the recruitment team where I work know and got him into the process to work with us. I had worked with him before, I had seen him on stage at events, and I knew he had the right personality to make a big impact on the business. I KNEW he would get hired.
Except he failed the coding interview.
I genuinely was shocked; so shocked that I did something that in 20 years of work, I had not done before… I assumed the interviewers were wrong, and escalated so that he could get a second chance. And he did get a second chance, and wouldn’t you know it, I was proven to be a fool – because he failed the coding interview again… it was the same question too!
I spoke to my friend about it, I read the interviewer's notes and concluded that despite everything I knew about my friend, the skill that he lacked was the ability to interview. We were his first (two) interviews in a decade, and he just handled it in the way one would handle a meeting.
As I am a fool, should’ve expected this since I have a belief that I have held since 2013, always be open to an interview. You can love your job, but if you get an offer to interview – take it. I have lost track of how many interviews I have done in the 11 years since this realisation, and I have had the full gambit of experiences from rejection to offer letters… in that time I have only taken 2 roles. It sounds like a waste of time to do hundreds of interviews and get nothing for it, even if you love your job, but I do not think it is.
First, as with my friend, interviewing is a skill and like any skill it needs to be practiced being kept up to date. This skill includes not being stressed, and doing more interviews helps with that which leads to a better understanding of what is being asked and allows you to demonstrate your skills better. In tech, especially, the language we use, and tools change often, and being able to speak to the state-of-the-art is important; especially if you have been in a company and working on one tech stack or architectural design for a long time. Equally so as you grow, you need to know what questions will be asked of you so you can practise your own answers to them and find the anecdotes and examples you will share to show your experience.
The second reason is market data cause like anything, it is only worth what someone will pay for it and interviewing will give you real-world data on how what you earn today compares to the market. The same is true for demand as you can see how many roles for your preferred skill or level are there. When it comes to discussions about salary in your own organisation, being armed with real-world data will help you have realistic expectations.
The third reason is improving your own company's hiring process. I cannot explain how many terrible interview processes I have seen, and it totally has put me off working with that company, but I have seen many good interviews too. And I have taken those ideas and shared them where I work. This has allowed the companies I work with to have amazing interview processes.
This obviously is not without risk, people you work with may jump to incorrect conclusions about your happiness based on hearing that you are interviewing. To solve this, I have always been open with my managers always about and told them that they will never be blindsided by me leaving; if I ever find something better, I commit to discussing it with them ahead of time. Some of my best managers have totally bought into it, and I think that talks strongly to their confidence in providing a great environment to work and effort in building trust with their reports.
So, in summary, I do encourage you to get your CV on OfferZen, set yourself to “Open to Work” on LinkedIn and sharpen that interview skill… just tell your manager first.
Thoughts on Rust
I finally caved into the pressure from all the smart people I know who have told me for at least the last 2 years that the Rust programming language is wonderful and we should all jump on it. I finally caved and decided to follow some tutorials over a week and then attempted to build a small program with it.
If you do not know my background, I have never coded in C/C++ - the closest I did was Turbo Pascal, and later Delphi, but I have mostly worked with a memory-managed runtime for 15 years (.NET, JVM, JS) and so caring about memory deeply this is a big change for me. For interest, I did all my coding either in the Rust playground (which is nice) or VSCode, which worked flawlessly.
Before I get to my thoughts on it, I want to call out 5 interesting aspects which were front of mind for me.
Included tooling
The first thing that jumped out was the lovely tooling, called Cargo, which is included as standard. In theory, you could avoid it and just do the pure Rust language but literally every tutorial and discussion assumes it is there, and it makes life so easy. It is beautiful and handy to have a universal tool stack. Cargo does several things, at first, it is a capable package manager, similar to Node/Yarn package manager. In addition, it has a formatting tool and a linter built in as well. This ensures that the bikeshedding around the language is nerfed and that is wonderful. Rust/Cargo also has its own testing framework. It lowers barriers and makes it so easy to get started. Cargo also has a documentation generator which takes the comments from your code combined with your code to build very useful docs.
Delightful error messages
When I screwed up the code, which happened often as I got to grips with the language, the error messages it raised were absolutely beautiful and useful! For example, I tried to do ++ (to do increment), which does not exist in Rust and the error message very clearly told me it does not exist and what I could use as an alternative.
Standard Error
   Compiling playground v0.0.1 (/playground)
error: Rust has no postfix increment operator
 --> src/main.rs:3:10
  |
3 |     hello++;
  |          ^^ not a valid postfix operator
  |
help: use `+= 1` instead
  |
3 |     { let tmp = hello; hello += 1; tmp };
  |     +++++++++++      ~~~~~~~~~~~~~~~~~~~
3 -     hello++;
3 +     hello += 1;
  |
Documentation unit tests
Having "built-in" tooling, especially for testing means you can do amazing things knowing it is there and Rust does one of the most interesting things I've seen in any language: include unit tests in the documentation. The tests are executable in VSCode and they run with Cargo but they do not need to be far away from the code - it is awesome from that side and they end up visible in the documentation that Cargo can build too. It is brilliant.
Shadowing immutable variables & redeclaring variables
Moving from the good to looking at the bad; redeclaring variables is something supported and it baffles my mind that it is even allowed. A small primer on this. Variables by default are immutable - this is great; you can make them mutable if you want and changing the value of immutable variables is not possible - for example, this fails:
fn main() {
    let aMessage = "This is the initial message";
    aMessage = "this will error";
    println!("{}", aMessage);
}
But we can redeclare the variable even if it is immutable, and I understand some scenarios it will be useful but it feels dirty.
If this was limited to mutable variables it would make sense, but 🤷♂️ In the above example, it prints "this will error" which is at least logical but when we add changes to scope, all that goes out the window. It feels like a mess to me and I hope the linter gets more strict on not allowing it.
Passing ownership of variables to functions
This is not bad, but it is easily the biggest shift in thinking needed. If you can grok this, you will be ok in Rust. In C#/Java/JS if you are in a function, create a variable and pass said variable to another function... that variable still exists in the original function. Passing by reference or pointer or anything... it does not matter.
In Rust, unless you opt-in (and meet some other requirements) if you pass a variable to a function - that function owns it and it goes away from the original function. Here is an example of what I am talking about:
fn writeln(value: String) {}

fn main() {
    let a_message = String::from("Hello World");
    println!("{}", a_message);
    writeln(a_message);
    println!("{}", a_message); // this line will error cause `writeln` now owns `a_message`
}
It is confusing initially but there are solutions and I do like that helps push the right design patterns.
Overall thoughts
Rust is excellent. It is modern and smart. It makes a lot of sense for high-performance systems or where you need to be running on bare metal. I think the intentional limits will make it stay a specialised tool, compared to something like Kotlin or TypeScript which lets you mix & match FP/OOP/shitty code styles.